Monday, November 30, 2015

Naughty or Nice

Aloha everyone,

Can you believe it's December already? Or that we now have 25 days left to buy or create gifts? Where did the time go?

 Anyway, for my project today, I decided to make something to help get the little ones to be a little more courteous and to mind their p's and q's.

What better way to do that than by thinking out of the box and taking Kadoodle Bug Designs CK Devil Bear and incorporating it onto Santa's Naughty List.


 Did you happen to notice the Official Elf Report Card there? This little cutie came from Jaded Blossom and their Layered Frame and Journal Die fits this stamp very well.
As a matter of fact, this die was also used to help create the background for my Naughty or Nice bears.

In case you're wondering where the stand and dice came from, they came from the Silhouette Online Store by Samantha Walker #34295 and #34296. Did you also hear about the fantabulous sale going on at the store? All the designs are 50% off so now would probably be a really good time to stock up on all of your favorite designs.
I digress, back on track to my design.

Of course, no naughty bear is complete if there is no angel bear present. 
To help with that I used KBD's CK Angel Bear. Hopefully this bear is the one that our little kiddos will strive to aim for.

To get that beautiful sparkle to her wings my much loved Stickles came into play.

  First, ink the wing edges in your preferred color and add your Stickles onto the surface. I used Crystal to get that sparkle effect. The halo was made using glitter cardstock and the metallic gold background paper was embossed with Sizzix Merry Christmas embossing folder.

Once again, the camera does this cutie pie no justice and you really have to see this in person to see all the beautiful details in it.

I wanted to make sure that the two cards are interchangeable so that each day our little ones can try again to earn their name on the Nice list and what makes this stamp so perfect is that even if your little one somehow manages to make it onto the Naughty List, you can always make another card :)
Mahalo for visiting me and I hope you come back soon. 
As usual, have a scrappy day!

Friday, November 20, 2015

Merry and Bright


Welcome to KaDoodle Bug Design's Holiday Blog Hop!  We are so excited to have you join us today! At each stop of the hop we hope you will be inspired by the creativity of the design team. 

You should be arriving from Sonja's  blog. If you happened across this post out of order, please head to the KaDoodle Bug Design's Blog to start at the beginning of the hop.


Here is the project I created:

Lately, I have been seeing so many posts with everyone using vinyl to decorate their glass blocks. Paper is more my element than vellum so I decided to see if I could still decorate the glass and make it look just as cute as vinyl.

If you are inspired to try your hand to create your own version, make sure the glass is nice and clean.


I was able to use my regular craft glue to lay my project down onto the glass.

I found the multicolored lights, twine material with snow attached at Walmart in the holiday section.

By the way, aren't these penguins the cutest?


Here is a close up of my project and if you look closer you can see the material inside the block.

Thanks for hopping with us and good luck to you all in winning all the new designs being released for the holidays. They are just too cute!

Thanks for stopping by and now you should be moving on to my fabulous Dt sister:
Jana


Now for the Blog Hop Prize! 
8 FILES, that's right every new file used in this hop today!

What do you need to do to be eligible for this amazing prize?
1.  Become a follower of each blog in the hop. 
2.  Leave some comment love at each stop.  You can do so until midnight on Sunday, November 22 MST to be eligible for the prizes.
3. Be sure you "Like" KaDoodle Bug Design Facebook Fanpage
4.  If you do all of the above, check back at the KBD Fanpage for the winner on Tuesday, November 24th 

Here is the complete blog hop lineup:

Thursday, November 19, 2015

Believe in the Season

Aloha everyone,


  Thank you so much for joining me today.
If you are all like me, you are seriously procrastinating on your Christmas crafts and gifts.

This season I am trying to stay ahead by getting a jump start on some of my holiday crafts. 

Anyway, on to my project for the day.

I want to share with you this super cute CK-Cupcake snowman.
 To add a different spin  to my project, I decided to make a holiday ornament tag, charm, etc.

I found this plastic ornament at my local craft store and it measures approximately 3.954 in diameter.

   The snowman is cut at 3.354 in height and 2.050 in width. To give the snowman that cotton texture on his hat and gloves I used a product called Snow-Tex. Because this product is wet, I used a paper clip and a toothpick to help lay it down exactly where I wanted it to be placed.


 The pine tree in the background is from Stampin Up's Festival of Trees. This tree was then embossed with my Versamarker pen and with Stampendous Shabby Blue Embossing Enamel.

    The photo really does this enamel no justice.

The Santa silhouette also comes from Stampin Up's Holiday Home.

   To finish up the details in this globe I added the smallest circle found in JB's circle dies.

I also used some faux snow to give my ornament that shaker appearance.

I used Mod Podge to glue my ornament onto my paper. Trying to stay away from the E600, due to it having cancer causing agents inside of it. To cover up any glue mistakes and to help place the tag, I wrapped twine around the globe and topped it off with Jaded Blossom's holly die and stamp.

Mahalo for stopping by and I hope you all have a scrappy day :)


Sunday, November 15, 2015

Give Thanks Turkey Wreath

Aloha all,

I have just been in love with all of the wreath possibilities.  There are just too many ways to use these as a decoration for any occasion.

 I couldn't resist making a fall wreath of KBD's CK-Give Thanks Turkey in hindsight I should have used CK-Pumpkin Turkey so that my turkey could have some feet.

Should you make this cutie, now you know which turkey you need to grab.

For the wreath colors, I used burgundy, gold, green and orange tulle. Because these colors are so light I first had to paint my foam wreath yellow using acrylic paint found at my local Walmart.

I highly advise painting your wreath.

This wreath is about 8 inches in diameter.

I did  not use the whole turkey to create my wreath, so if you decide to replicate this here are the measurements.

Please keep the body, eyes, beak and nose, wattle (red dangly piece) grouped together and expand to a height of 9.721. 

  Of course, you are more than welcome to make this guy bigger or as small as you please.

The orange flickering lights inside the wreath are actually Halloween lights that I got on sale.

To finish off my masterpiece I embossed the wings of my turkey using a Fall embossing folder from Darice and the wattle was embossed using Tim Holtz Snowfall embossing folder.

The leaves wrapped around the wreath are actually a wire leaves decoration string found at my local craft store.


For those of you that know me so well, this project simply would not be complete without my handy dandy JB dies and stamps. The dies are from JB's Fall dies and the stamp sentiment comes from their Holiday Treat Tags stamp.

Mahalo for stopping by and as always, I hope you all have a crafty day :)


Monday, November 2, 2015

Sweet Holiday Wishes

Aloha everyone!

Thanks for stopping by today. I hope everyone had a wonderful Halloween weekend and if you don't celebrate it then I hope you had a wonderful weekend.

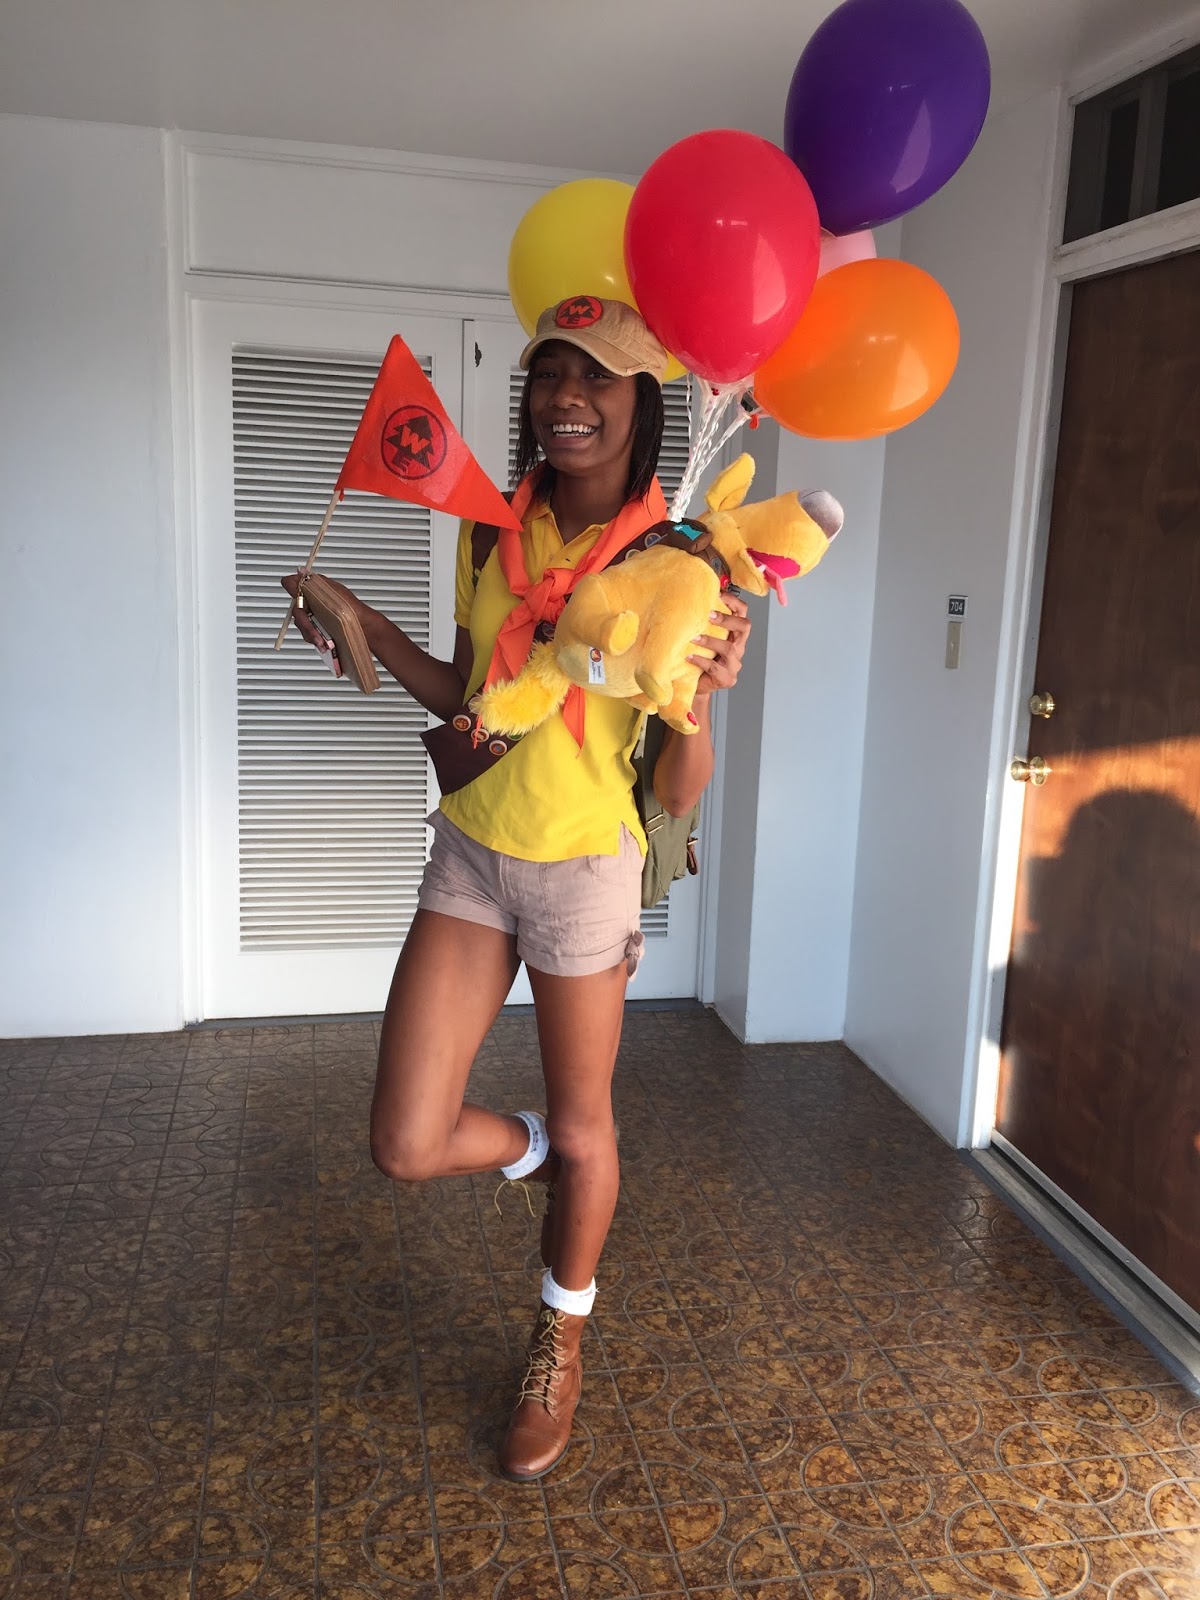
 My little lady is 16 and considers herself too old for Trick or Treating but she's never too old to dress up.
     This year she dressed up as Russell from Disney's "UP".

Thanks to Pinterest, there  are plenty of DIY sites to help us make this a success!

Moving on with my story. My daughter had to participate in a scavenger hunt and brought home CANDY! (Part of their scavenger hunt included going trick or treating)

I have more candy in my house than I really should! Holy mother of pearl, I can just feel my cavities forming with all this candy!
 In order to get this candy out of my house I used this super cute chocolate moose from Kadoodle Bug Designs and if you hurry, you can purchase this little fellow for just 0.25 cents!

The super cute Christmas lights decorating the antlers were found at JoAnne's. They were the perfect size for my moose. This little fellow is cut at 3.933hx3.392w and was probably one of the easiest assemblies I have had so far.

The Candy Caddy, sentiment from Gingerbread Wishes and tag die is from Jaded Blossom.

The scenic background was created using Lawn Fawn's, Forest border.

Mahalo for stopping by and I hope this inspires you to create something cute and creative.

As usual, I hope you all have a scrappy day :)


Monday, October 26, 2015

Cutie Pie Monster Wreath


 Aloha everyone,

Thanks for stopping by today. If you are anything like me and have a million and one things going on, you probably aren't ready for Halloween yet.

I can't believe it's coming up this weekend already! Where did the time go?

Anyway, on to my project.

I have seen so many cute Halloween wreaths pop up on my Pinterest wall I just knew I wanted to try my hand at creating one.


To make this wreath, I used a seven inch foam wreath, three rolls of teal glitter tulle, two rolls of purple glitter tulle, invisible stretch string, one set of miniature purple flashing lights, matching card stock and BAM!

My one word of advise for you, is maybe tape the foam with painters tape. My wreath actually fell to the floor and broke into four pieces. I believe this may have been caused by the stress of wrapping my lights around the wreath.

If you want to have your wreath flash as well, the next step would be to wrap the lights around the foam.
 After having completed the first two steps, just grab your primary color and wrap it around the foam several times and tie it off using the standard regular knot tie. Follow this up with your secondary color and keep going from there.

You may not like the way it's shaping up at first, but please keep going. The end result is stunning and you will be happy that you followed through with your wreath.

Now for my little monster. You can grab this little cutie pie here and if you hurry you can grab her for just 33 cents!
While you're there check out all the other cuties for sale and don't forget to grab their freebie.


It's a little hard to see, but I actually used loose pink flock to accent her monster costume and the result is too cute.
She is just so soft and cuddly. 

To finish up this creation, I used an oldie but goody from Jaded Blossom called, "Halloween Treats" and added their bat fro their Halloween dies to the center.

Thanks for stopping by and I hope you all have a scrappy day!

Hope your Halloween is simply boo-tiful!

Friday, October 9, 2015

Sweet Birthday Wishes

Aloha all,

For my project today, I decided to make a topper for a birthday favor bag.

Isn't this bear just the cutest? When I saw him on the KBD store, I just knew that he would be the perfect image for celebrating sweet treats.
       If you have never shopped at the store, please know that all files are $1.00 and while your there grab some freebies. They are totally adorable and once the freebies are gone, they are gone!

To showcase the sundae bear, I used my double scallop doily die from Whimsy Stamps.

 The scallop border die is from Pretty Pink Posh that was cut at 1"x12". This made it super easy for me to continue to keep a nice straight cut with the die. Of course, the die cut was cut in half so that it could cover the top and bottom of my bag. Did you notice the shading on the edges of the die cut? If so, you have an eagle eye!

 I have an eBrush but I decided to play with a cheaper invention by none other than Crayola. I used their Marker Airbrush and for the most part it was fun except for the steady pumping of air into the compressor.  Overall, I was happy with the end result.

Have I mentioned my love for Jaded Blossom stamps? If not, let me do so now :) The sentiment for the favor bag is from none other than Jaded Blossom. But of course, you already guessed that, didn't you?

Thanks for visiting me today and as usual, I hope you have a scrappy day!